MASTERCHEF JUNIOR KITS DELIVERED MONTHLY!
LEARN TO COOK LIKE YOUR FAVORITE CONTESTANTS.

Get Recipes from the Show! Wonder how they do it? Get judge-approved recipes with easy-to-follow instructions and insider tips.

Master the Mystery Box Challenge! Experience the excitement of MasterChef Junior when you conquer fun at-home games.

Win Cool Prizes! Each month, you’ll have chances to win awesome prizes and lots of bragging rights.

Rule the Kitchen! Grow your skills and build confidence like a world-renowned chef – and have fun while doing it!

Get Recipes from the Show! Wonder how they do it? Get judge-approved recipes with easy-to-follow instructions and insider tips.

Master the Mystery Box Challenge! Experience the excitement of MasterChef Junior when you conquer fun at-home games.

Win Cool Prizes! Each month, you’ll have chances to win awesome prizes and lots of bragging rights.

Rule the Kitchen! Grow your skills and build confidence like a world-renowned chef – and have fun while doing it!
Get Started with MasterChef Junior Kits!

1.
Pick your monthly MasterChef Junior plan:
In addition to monthly kits, subscribers get access to exclusive recipes from the show, opportunities to win awesome prizes, and access to our online community of home cooks.
2.
Receive new cooking kits each month:
In each box you’ll find chef-tested recipes, including a judge-favorite from the show, an at-home Mystery Box challenge, a new kitchen tool, Foodie Fun magazine, and more!
3.
Enter to win monthly prizes!
Show off your progress each month and enter to win awesome prizes, plus a chance to be featured in an upcoming MasterChef Junior kit! You could be the next winning chef!


Select a subscription plan
The official MasterChef Junior cooking kit for kids
Free shipping on all U.S. orders!
All Subscriptions Renew Automatically. You Can Pause Or Cancel At Any Time!
Shop Single KitsInside the box
3 tasty recipes
Beautifully photographed & easy-to-understand guides.
Foodie Fun magazine
Exclusive activities & fun learning while your food cooks.
Quality kitchen tools
Kid-friendly utensils to up your junior chef’s kitchen game.
Achievement stickers
Collectibles to celebrate your kitchen victories!
Shopping list
Grocery checklist with dietary substitutions.
Cook Along
Learn kid-friendly recipes step by step in augmented reality.
On-air recipe
An exclusive MasterChef Junior contestant’s televised recipe with insider tips.
Games & challenges
A chance to win awesome prizes and learn new skills from the show.


© 2023 Shine Television, LLC.
MASTERCHEF JUNIOR and the MASTERCHEF JUNIOR logo are trademarks of Shine TV LLC
and its related entities, and are used under license. All rights reserved.
Cooking, learning, & growing together
Nurture healthy habits and a love of learning with a new culinary journey each month!
Enjoy family time

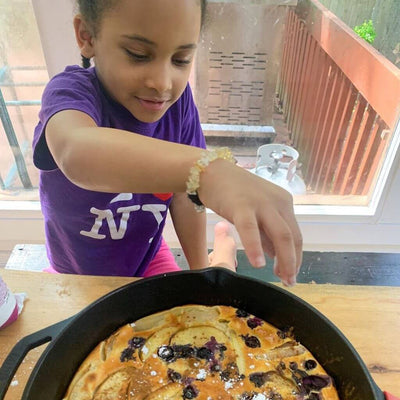
Create meaningful moments as you cook and learn together.
Explore new tastes

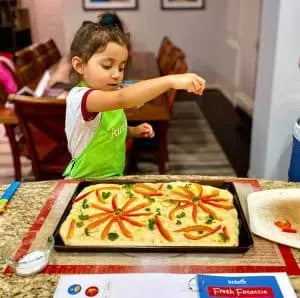
Try something new, with hands-on food fun and exciting flavors.
Gain confidence

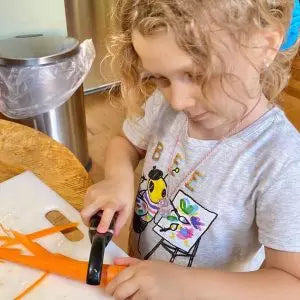
Chop, bake, and sauté through new challenges each month.
Learn with us

Dive into themed lessons in STEM, language arts and more.
Sign up for emails and get 30% off the first month!
Explore Kidstir Kits

Kidstir kids are happy kids


Millions of smiles and counting…
Follow @kidstir on Instagram for more delicious kitchen adventures!


